# How to Create Dimensions
Dimension lines label the exact distance between two points on your plan — useful for showing measurements a reviewer needs beyond what's already labeled automatically.
Quick Answer
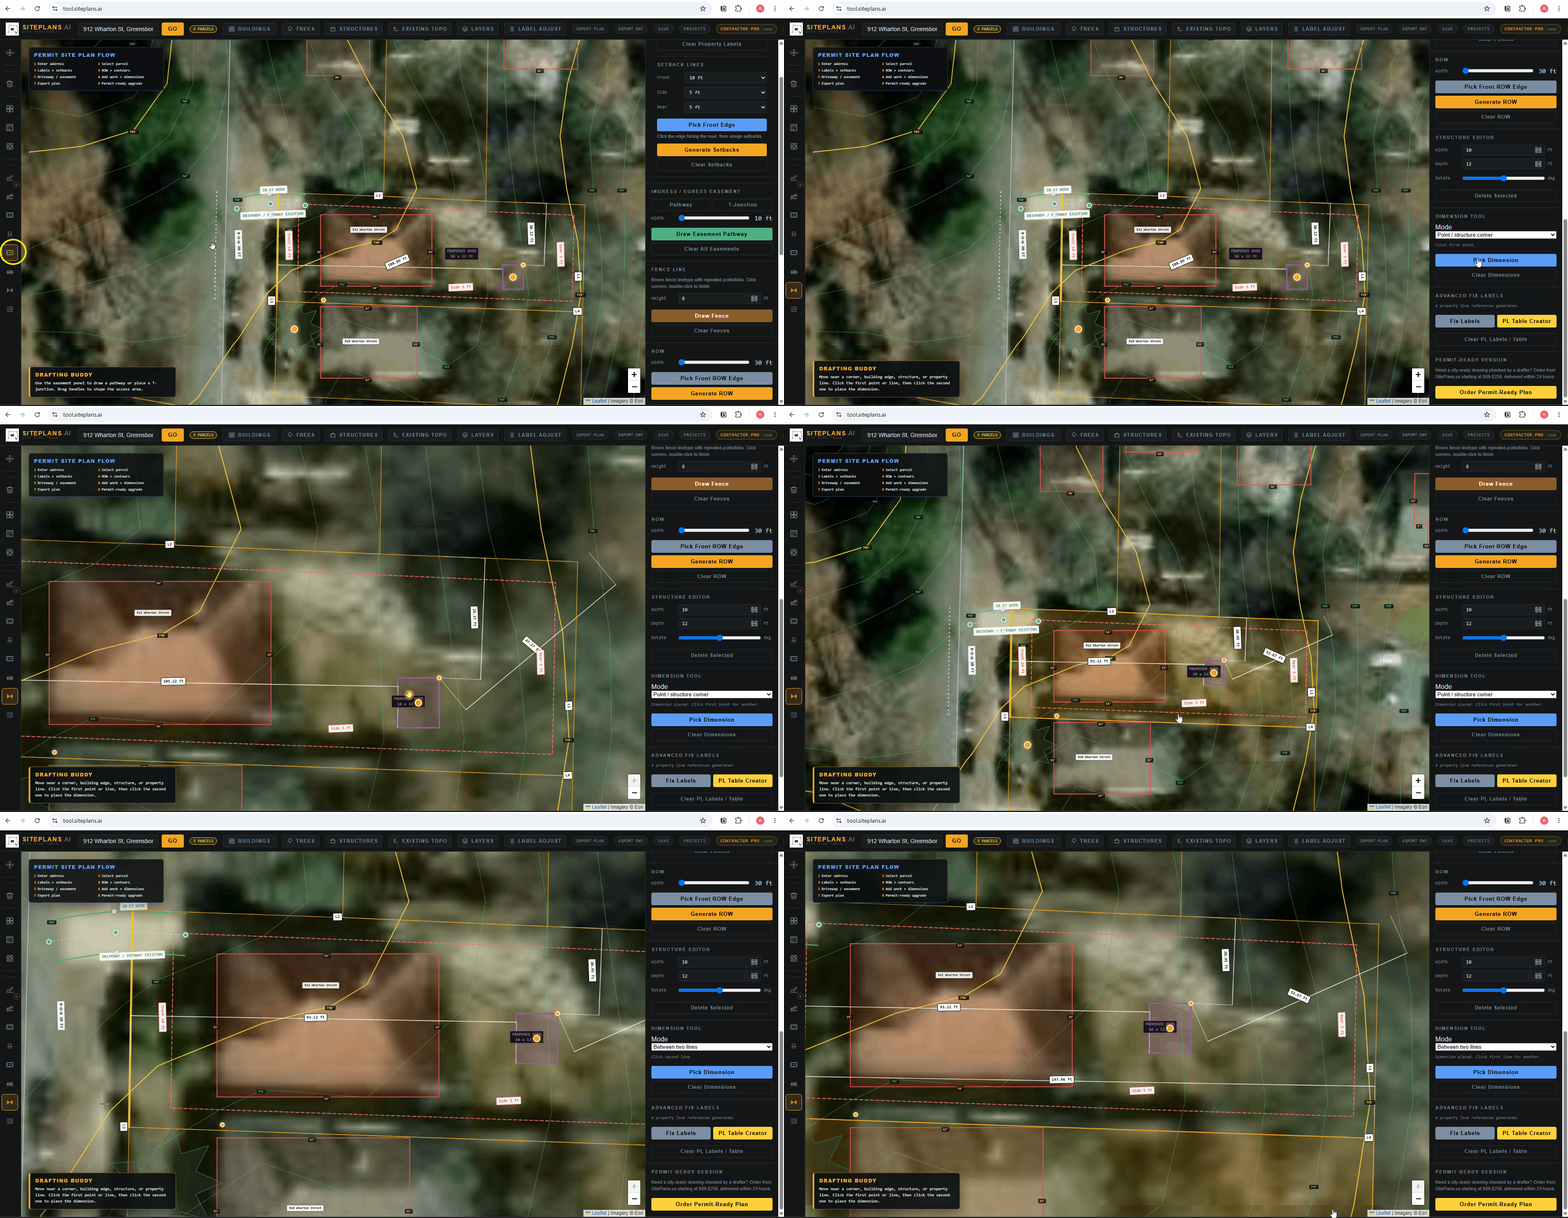
Select the dimension tool and choose Between Two Points mode. Click your first point when the cursor turns into a plus sign, then click your second point. The distance label generates automatically.
Step-by-Step
1. Select the dimension tool and choose the between-two-points mode.
2. Pick your first point. Move your cursor until it turns into a plus sign, then click.
3. Pick your second point — this could be a structure edge, a property line, or another reference point.
4. Review the label. The dimension line and its distance appear automatically, aligned between your two points.
5. Clear and redo if needed. If the dimension isn't quite right, clear it and repick your points.
When to Use This
Whenever a distance needs to be explicit that isn't already covered by an automatic setback or property line label — distance between two structures, a specific clearance a reviewer asked about, or any custom measurement your permit application needs shown.
Common Mistakes
Clicking before the cursor actually shows the plus sign — the tool needs that visual cue to register your point correctly.
Picking imprecise points on a structure edge — zoom in first if you need an exact corner or edge measurement.
FAQ
Can I create multiple dimension lines on one plan?
Yes — repeat the process for each measurement you need shown.
Does this work between a structure and a property line?
Yes — the tool works between any two points you select, not just structure-to-structure.
Can I move a dimension label after it's created?
Yes, through the Adjust Labels tool.
Related Tools
Start Here
Create My Site Plan — Need help? Get support from SitePlans.us →